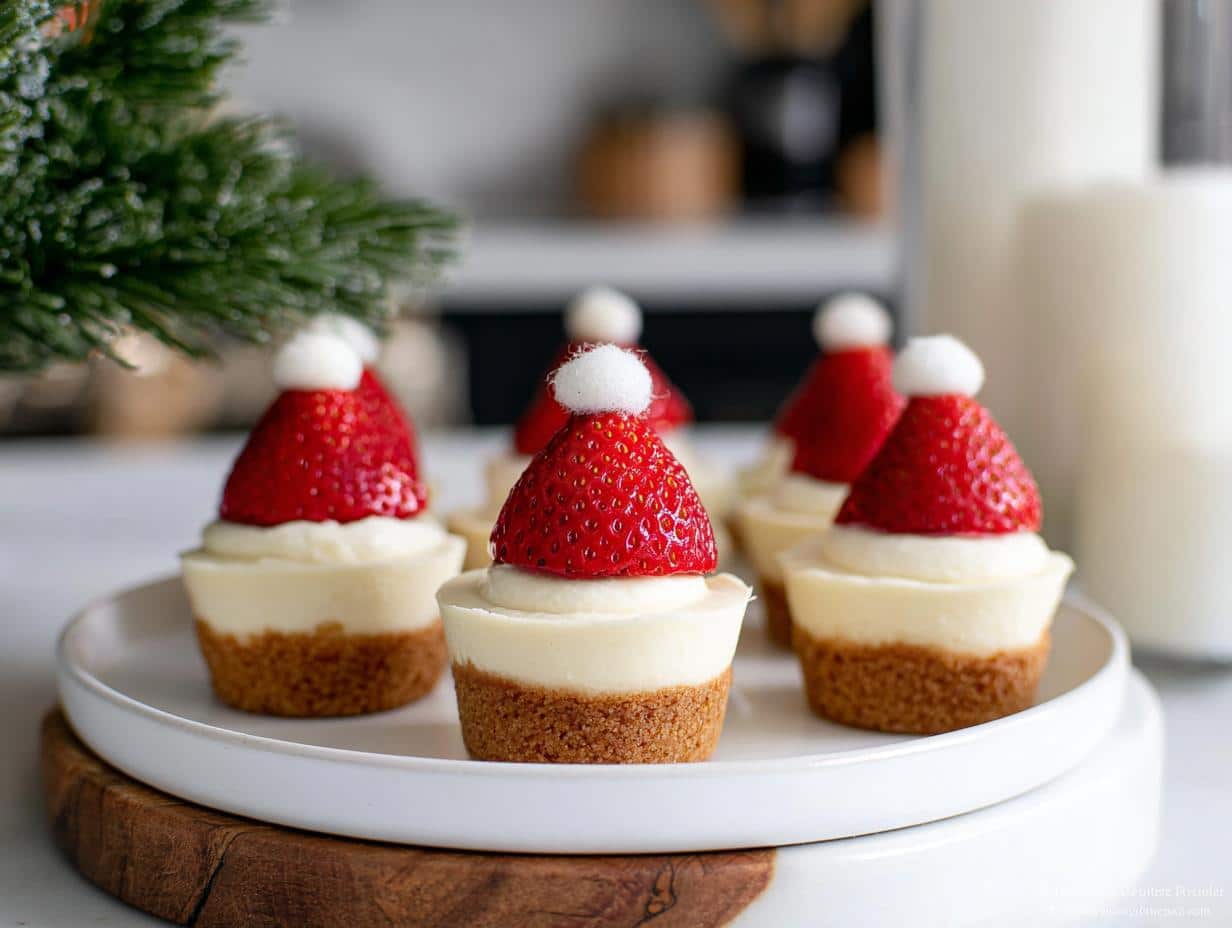
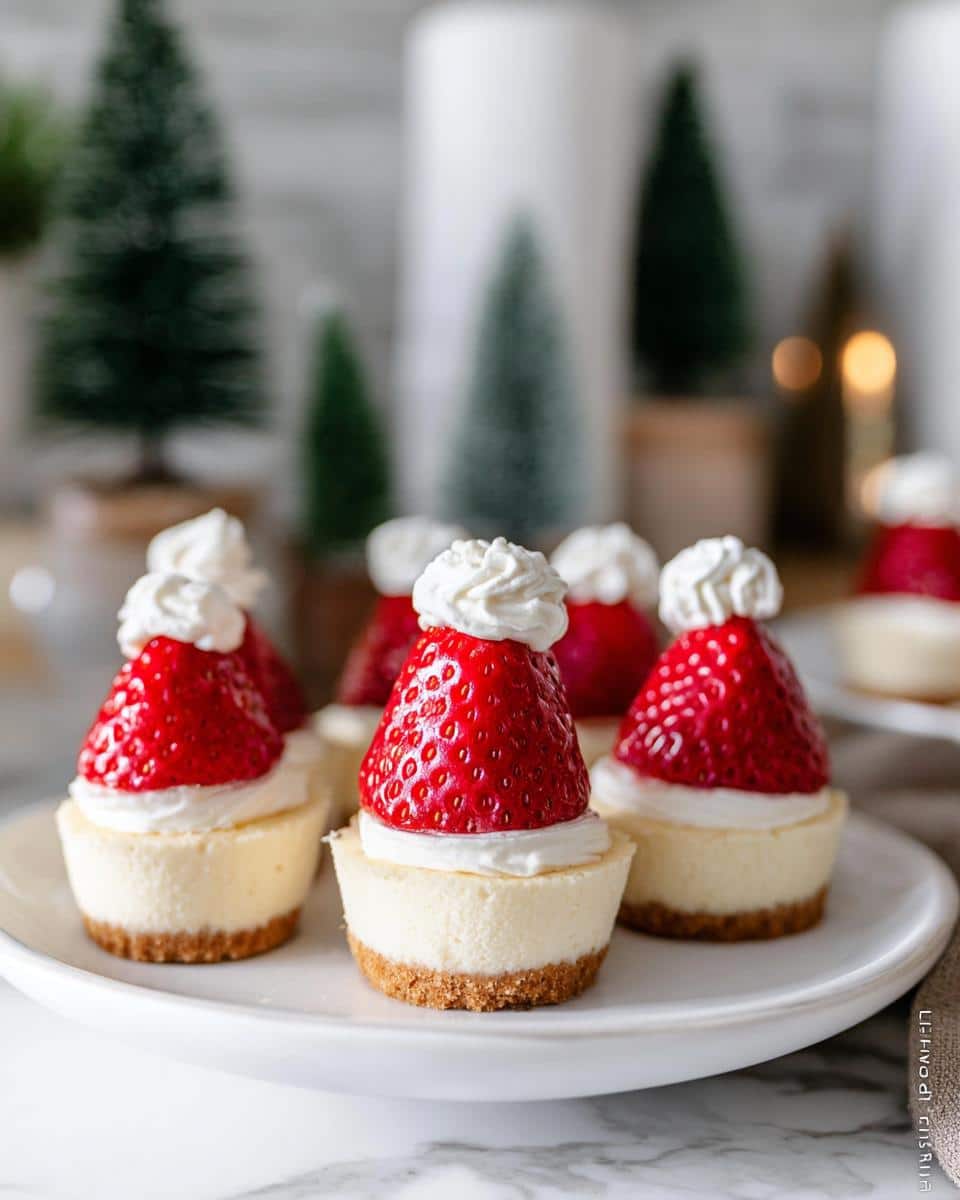
Nothing spreads holiday cheer faster than a plate of adorable Christmas treats, and these Strawberry Santa Cheesecake Cups are my go-to for instant smiles. I’ll never forget the first time I brought these to my sister’s ugly sweater party – the moment I lifted the lid off the platter, everyone’s phones came out for pictures before they even took a bite! What makes this dessert special is how it turns simple ingredients into pure holiday magic. You get creamy cheesecake tucked inside sweet cookie cups, topped with strawberries transformed into miniature Santa hats with just a dot of frosting. The best part? No oven required beyond baking the cookie shells (and even that takes just 13 minutes). These little Santas became our family’s new tradition after I whipped them up one hectic December when I needed something festive but fast. Now my niece insists we make them together every Christmas Eve while we watch holiday movies – her tiny fingers are perfect for placing the strawberry hats just right!
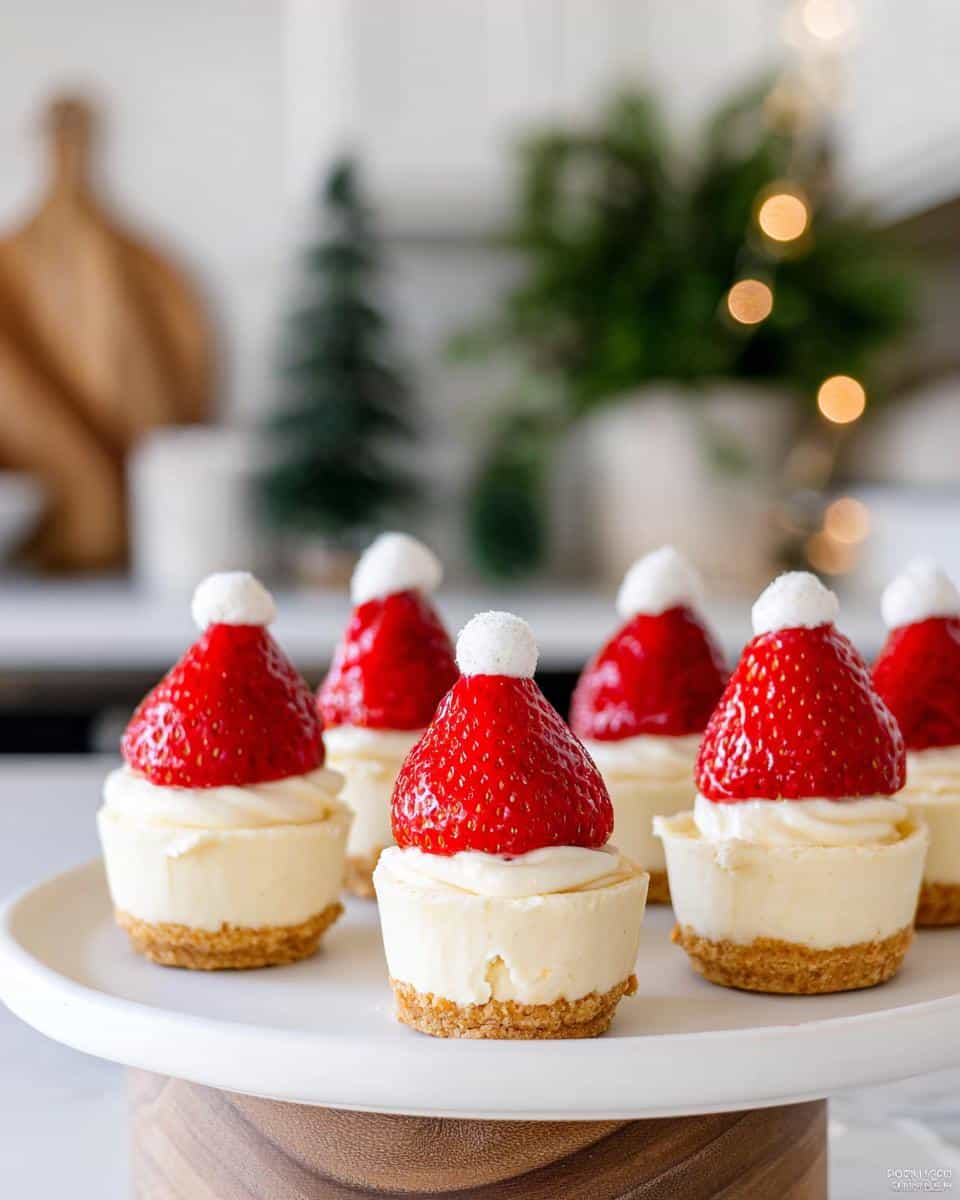
Why You’ll Love These Strawberry Santa Cheesecake Cups
Oh my gosh, where do I even start? These little Santas stole my heart the first time I made them, and here’s why they’ll steal yours too:
- No-bake magic: After those cookie cups come out of the oven (just 13 minutes!), the rest is pure assembly-line fun. No stressing over water baths or cracked cheesecakes like my other no-bake treats.
- Instant holiday spirit: Those strawberry hats with their tiny frosting pom-poms? Guaranteed to make your dessert table the most festive spot at any party.
- Kid-approved cuteness: My niece calls them “Santa snacks” and always volunteers to be the official strawberry-placer (though she sneaks a few berries along the way).
- Quick cleanup: One bowl, one baking sheet, and you’re done – leaving more time for eggnog and Christmas carols!
Trust me, these cheerful cups disappear faster than you can say “Ho ho ho!”
Ingredients for Strawberry Santa Cheesecake Cups
Okay, let’s gather our merry little ingredients for these adorable Santa cups! Here’s everything you’ll need – and yes, I’m all about keeping it simple like my grandma taught me. Store-bought shortcuts are totally fine when they make holiday baking stress-free.
The Cookie Cups:
- 1 roll Pillsbury Sugar Cookie Dough (the break-and-bake style works perfectly)
- Flour for dusting (just a pinch to keep everything from sticking)
The Cheesecake Filling:
- 1 box Philadelphia No Bake Cheesecake Mix (comes with the crust packet – we won’t need that, but save it for another treat!)
- 1/2 cup cold milk (whole milk makes it extra creamy)
- 1 tablespoon real butter (salted or unsalted both work)
The Santa Hats:
- 12 fresh strawberries (look for ones with nice pointy ends – they make the best hats!)
- 1/4 cup store-bought vanilla frosting (or homemade if you’re feeling fancy)
That’s it! I told you this was easy. Now let’s turn these simple ingredients into some Christmas magic.
How to Make Strawberry Santa Cheesecake Cups
Alright, let’s get to the fun part – turning those simple ingredients into the most adorable Christmas treats you’ve ever seen! I promise this is easier than wrapping presents (and way more delicious). Just follow these steps, and you’ll have a platter full of Santa smiles in no time.
Preparing the Cookie Cups
First things first – let’s make those little cookie cups that’ll hold all our cheesecake goodness. Preheat your oven to 350°F (175°C) and grab your mini muffin pan (silicone works best, but metal is fine too). Here’s my trick: take one cube of that break-and-bake cookie dough and press it into each cup. Don’t worry about being perfect – we’ll fix them up later! Bake for exactly 13 minutes – set a timer because they go from golden to gone quickly. Now the magic part: while they’re still warm, use the back of an ice cream scoop to gently press down the centers, creating perfect little cups. They’ll firm up as they cool, so work fast but carefully. Let them cool completely before filling – I know it’s hard to wait, but trust me, it’s worth it!
Assembling the Strawberry Santas
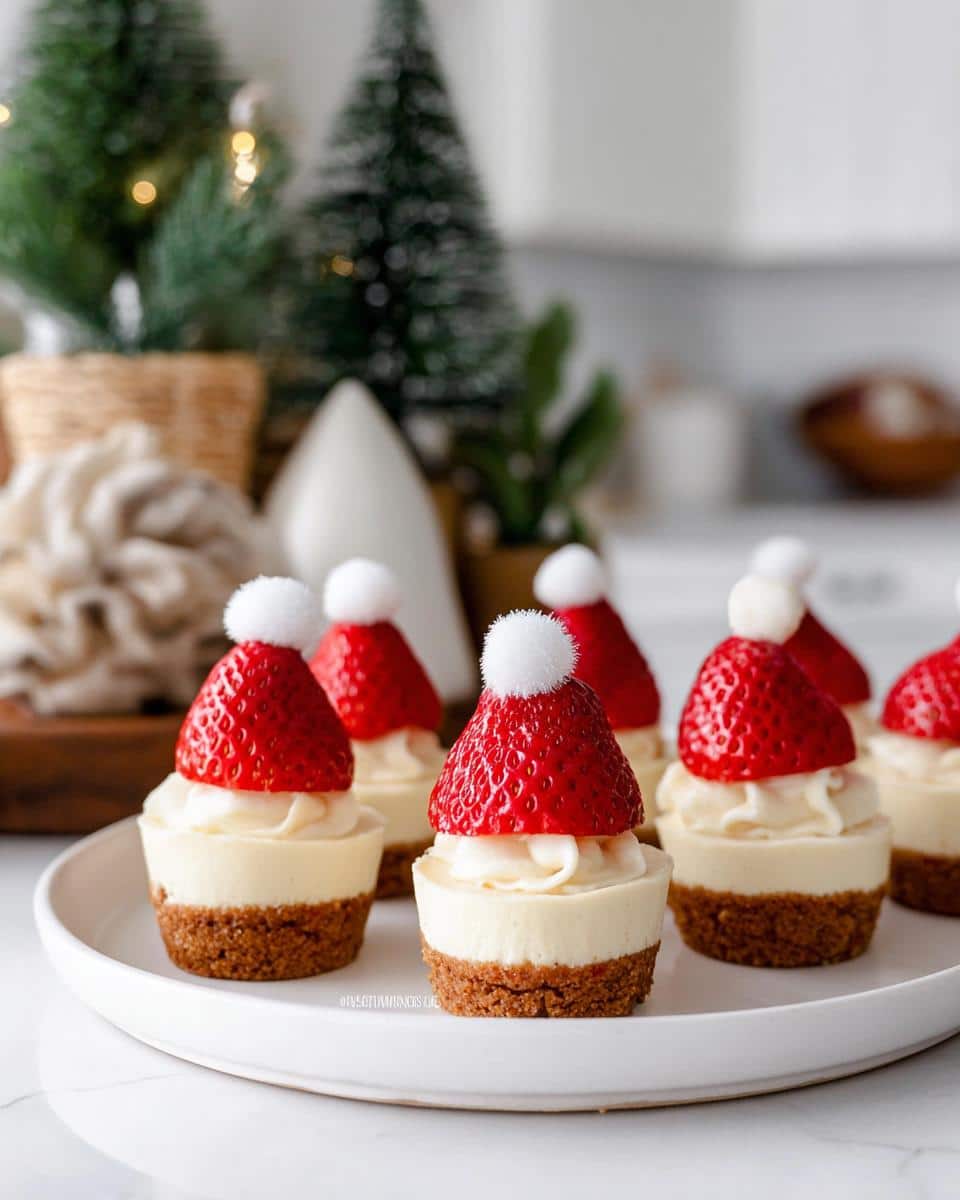
While those cookie cups are cooling, let’s prep our Santa hats! Wash your strawberries and pat them dry – we want nice pointy ones for the best hat shape. Cut off the green tops so they’ll sit flat. Now for the cheesecake filling: whip up that no-bake mix with milk and butter until it’s smooth and dreamy. Spoon it into your cooled cookie cups (or use a piping bag for fancy swirls like I do with my strawberry tartlets). Here comes the cute part: place a strawberry upside down on each cup – instant Santa hat! Then take a tiny bit of frosting (a toothpick works great for this) and make a little dot on the tip of each strawberry for the pom-pom. And voila – you’ve got an army of edible Santas ready to spread holiday cheer!
Tips for Perfect Strawberry Santa Cheesecake Cups
After making these adorable Santas more times than I can count (and yes, eating plenty of “test batches”), I’ve picked up some foolproof tricks to make yours turn out picture-perfect every time. First – and I can’t stress this enough – let those cookie cups cool completely before filling! I know it’s tempting to rush, but warm cookies make the cheesecake filling melt into a sad puddle. Ask me how I know…
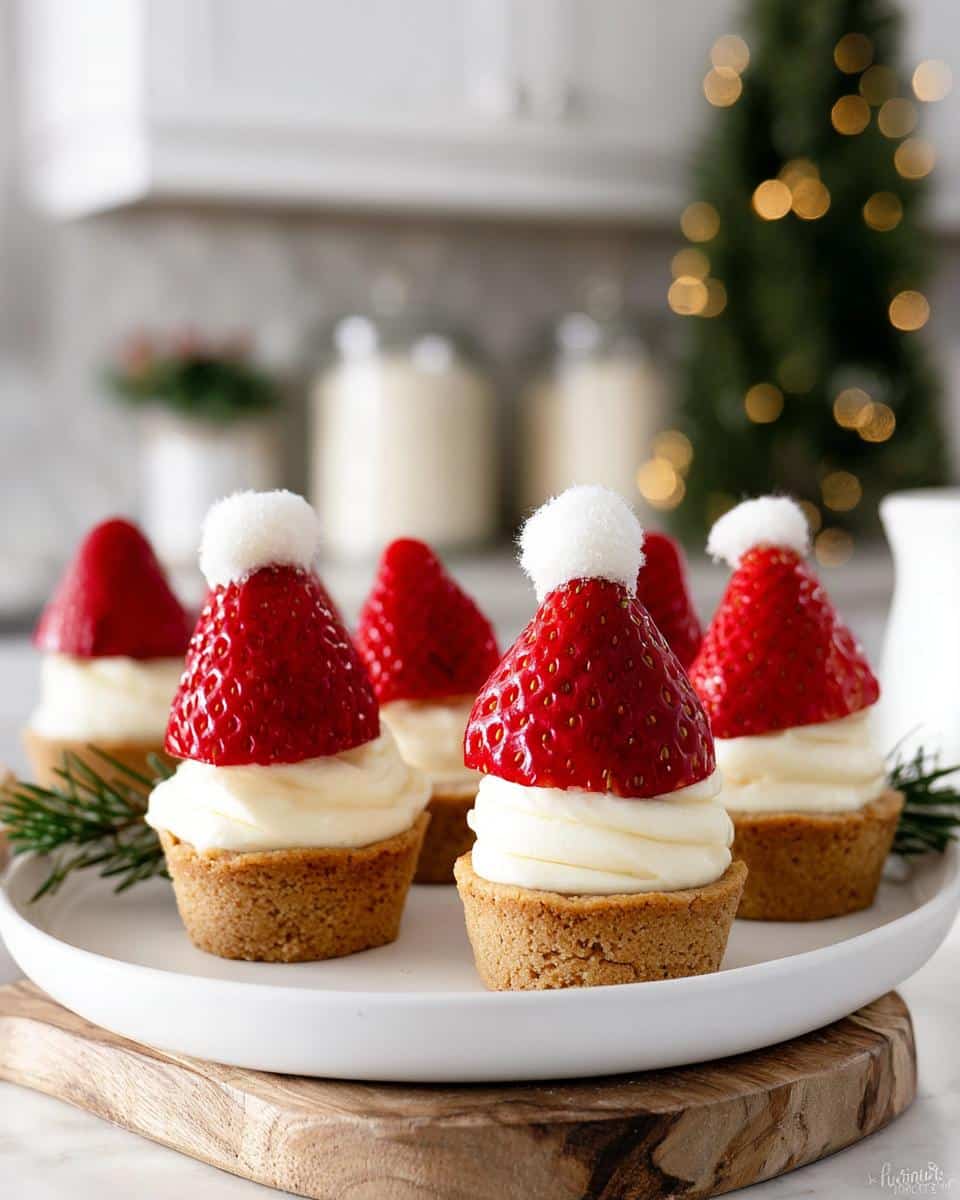
Here’s my secret weapon: a piping bag with a star tip makes filling those cups a breeze and gives you those gorgeous bakery-style swirls. No piping bag? No problem! Just snip the corner off a zip-top bag – it works nearly as well. When picking strawberries, look for ones with nice pointy ends – they make the cutest Santa hats. And if your frosting pom-poms keep sliding off, try chilling the strawberries for 10 minutes first – the frosting sticks like magic!
One last pro tip: make a few extra cookie cups because someone (maybe you) will absolutely “quality test” a couple before they make it to the platter. It’s practically a holiday tradition in my kitchen!
Variations of Strawberry Santa Cheesecake Cups
The best part about these Santa cups? You can dress them up a hundred different ways! One year I swapped strawberries for raspberries and made little red-nosed Rudolphs – just dab on some chocolate eyes and you’ve got a whole new character. If you’re feeling fancy, try a drizzle of melted chocolate over the cheesecake before adding the berries. It gives that chocolate-raspberry magic that makes every bite extra special. Sugar cookie cups getting boring? Use gingerbread dough instead for a spicy holiday twist – just bake them a minute less so they stay soft. And for a fresh winter look, dust the whole platter with powdered sugar “snow” right before serving. Whatever you choose, have fun with it – that’s what holiday baking’s all about!
Serving and Storing Strawberry Santa Cheesecake Cups
Oh, the joy of presenting these little Santas! I always arrange them on a festive platter with some fresh mint leaves – the green makes those red strawberry hats really pop. If you’re feeling extra, sprinkle a little edible glitter around them for that magical Christmas sparkle. Now, here’s the important part: these cuties need to stay chilled until serving time. The cheesecake filling gets weepy if left out too long (learned that the hard way at my cousin’s potluck!). Store any leftovers (if you’re lucky enough to have any) in an airtight container in the fridge. They’re best within 1-2 days – the cookie cups stay crisp and the strawberries stay perky. Pro tip: add the frosting pom-poms right before serving to keep them looking fresh!
Nutritional Information for Strawberry Santa Cheesecake Cups
Now, I’m no nutritionist (I’m more of a “will it taste good?” kind of cook), but here’s the scoop on what’s in these festive little cups. Each Santa cheesecake cup clocks in at about 180 calories, with 8g of fat (3g saturated), and 24g of carbs. You’re getting 2g of protein and a little fiber from those fresh strawberries – so hey, that’s practically health food, right? Just kidding! Remember, these numbers can change depending on the exact brands you use – my calculations are based on standard supermarket ingredients. So enjoy your Santas guilt-free, because Christmas calories don’t count… or at least that’s what I tell myself!
Frequently Asked Questions
Can I use homemade cookie dough instead of store-bought?
Absolutely! I’ve made these with my favorite sugar cookie recipe when I wanted to go all-out for a holiday party. Just roll the dough into small balls (about 1 tablespoon each) before pressing them into the muffin cups. The baking time might vary slightly – start checking at 10 minutes. Store-bought is perfect when you’re short on time, but homemade adds that extra special touch!
How far in advance can I make these Christmas treats?
Here’s my holiday party secret: you can bake the cookie cups 2-3 days ahead and store them in an airtight container at room temperature. Assemble with the cheesecake filling and strawberries the day of serving for the freshest look. The assembled Santas hold up beautifully in the fridge for about 4 hours before the cookies start getting soft.
Can I freeze Strawberry Santa Cheesecake Cups?
I don’t recommend freezing the assembled Santas – the strawberries turn mushy when thawed. But you can definitely freeze the baked cookie cups for up to a month! Just thaw at room temperature before filling. The cheesecake filling also freezes well separately – thaw overnight in the fridge and give it a quick stir before using.
What if I can’t find nice pointy strawberries?
No stress! Round strawberries work too – just think of them as Santa’s winter hat instead of the classic pointy one. You can also use raspberries for cute little Santa caps. One year I even used blackberries with white chocolate drizzle for Grinch hats – the kids went wild for them!
Print
Strawberry Santa Cheesecake Cups
- Total Time: 28 min
- Yield: 12 servings 1x
- Diet: Vegetarian
Description
A festive no-bake dessert perfect for Christmas parties, featuring cheesecake-filled sugar cookie cups topped with strawberry Santas.
Ingredients
- 1 package Pillsbury Sugar Cookie Dough (break-and-bake style)
- 1 package Philadelphia No Bake Cheesecake Mix
- 12 fresh strawberries
- Mini muffin silicone baking dish
- Piping bag (optional)
Instructions
- Preheat oven to 350°F (175°C).
- Place one sugar cookie cube in each cup of the mini-muffin silicone baking dish.
- Press down with the back of an ice cream scooper to form a shell shape.
- Bake for 13 minutes or as directed on the cookie dough package.
- While still warm, reshape the cookie shells with the ice cream scooper. Let cool.
- Wash strawberries and remove the tops.
- Fill cookie shells with cheesecake frosting using a piping bag or spoon.
- Place an upside-down strawberry on each cup for Santa’s hat.
- Add a small dot of frosting on top of each strawberry for the hat’s pom-pom.
Notes
- Use a regular muffin tray if you don’t have a mini one—just combine two cookie cubes per cup.
- For best results, let the cookie shells cool completely before filling.
- Prep Time: 15 min
- Cook Time: 13 min
- Category: Dessert
- Method: No-Bake
- Cuisine: American
Nutrition
- Serving Size: 1 cup
- Calories: 180
- Sugar: 12g
- Sodium: 85mg
- Fat: 8g
- Saturated Fat: 3g
- Unsaturated Fat: 4g
- Trans Fat: 0g
- Carbohydrates: 24g
- Fiber: 1g
- Protein: 2g
- Cholesterol: 10mg
Keywords: Christmas dessert, holiday baking, easy party treats, strawberry Santa, no-bake cheesecake

